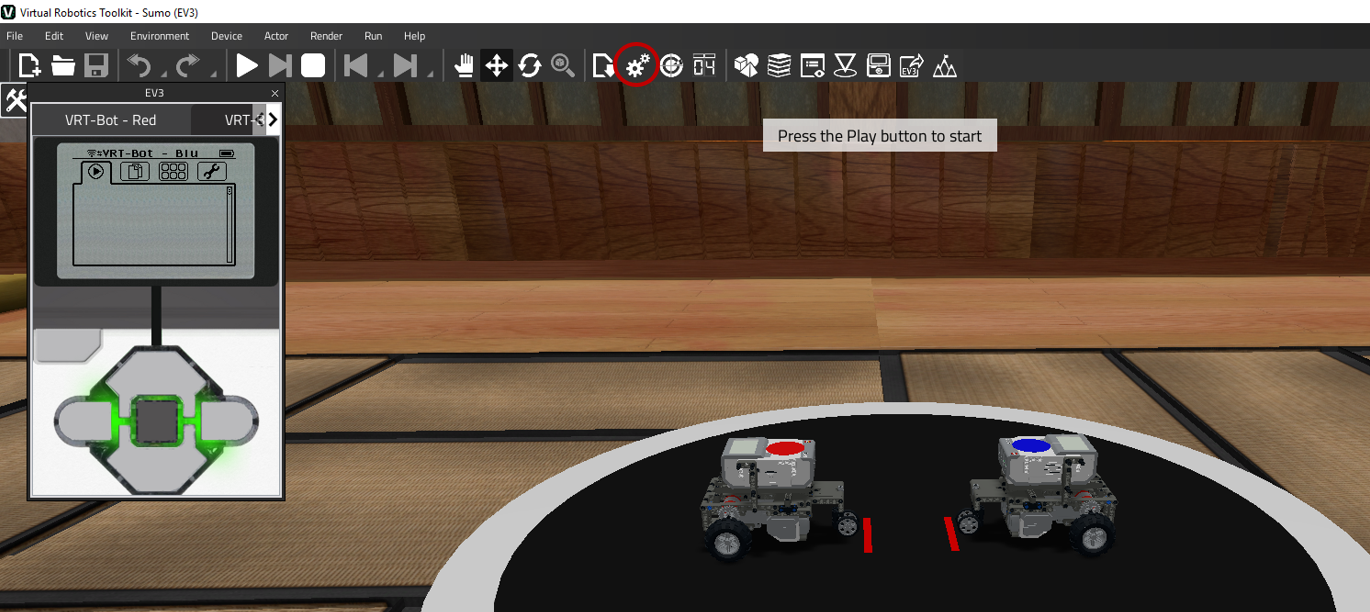
Many of the sample project robots come with additional components that can be added. To see a listing of available attachments for the sample project robot, click on the Attachments  button located on the Toolbar.
button located on the Toolbar.Attachments button in Simple Mode

Attachments button in Advanced Mode
After clicking on the Attachments button, a new window will appear. To add a new attachment, select it from the list of "Available Attachments", choose a position on the robot, and then click "Add".
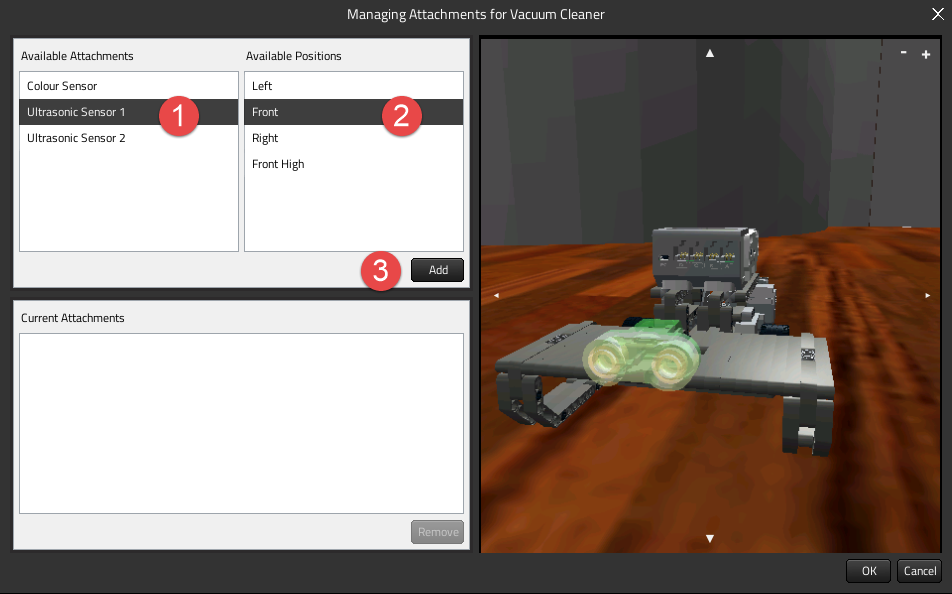
Adding an attachment
Similarly, you can remove an existing attachment by selecting it from the "Current Attachments" list, and clicking on the "Remove" button.
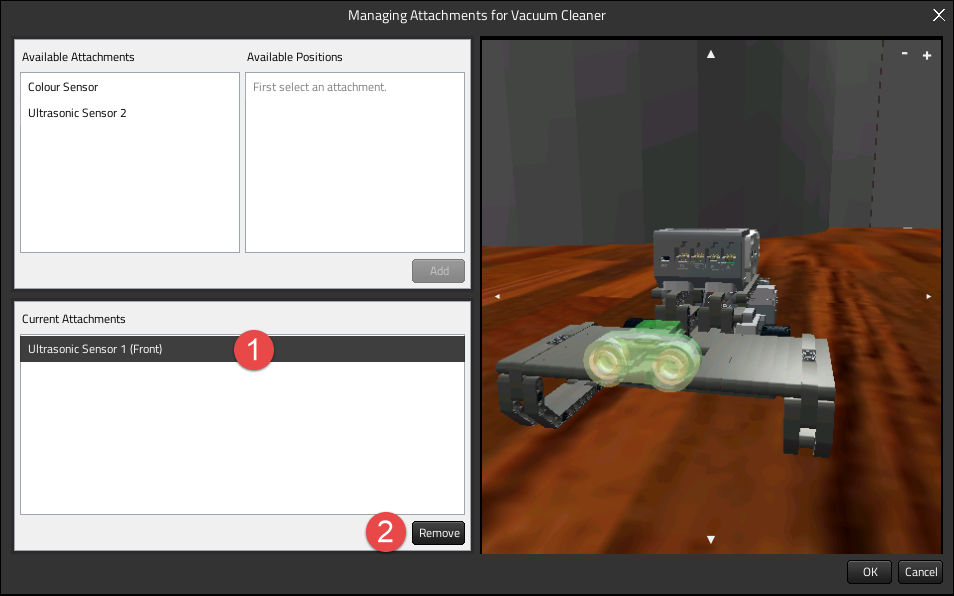
Removing an attachment
When finished, click OK to save your changes.
Powered by Froala Editor